Scanning Documents for an Immigration Medical in Ajax
A careful scanning workflow keeps medical documents complete, readable and correctly matched to the recipient who requested them.
A document scan is useful only if the person receiving it can read the right information and understand where it belongs. A sharp photograph of half a page is incomplete. A complete PDF saved under the wrong family member’s name can be confusing. A readable file sent to the wrong address creates a different problem altogether. Preparing a good scan requires a few checks beyond pressing the camera button.
If you need to scan documents for an immigration medical in Ajax, first establish who requested them and how they should be delivered. The clinic, IRCC and an authorised representative may have different requirements. Keep those requests separate. The following workflow helps you capture an accurate copy, preserve the original and check the transfer without assuming that every file must be sent to every recipient.
Start with a defined request
Read the instruction before choosing documents. Identify the person whose record is needed, the requested document, the recipient and any deadline. If the request is unclear, ask a focused question rather than scanning an entire folder in the hope that the relevant page is somewhere inside.
For clinic questions, use the published contact details and confirm the accepted delivery method. Explain whether the material is a medical letter, an identity copy or a report from another provider. Different documents may need different handling, and some originals may still need to be brought to the appointment.
Make a small working list of the pages to capture. This is especially helpful when a report has attachments, results printed on both sides or a second page containing the patient’s name. The list should reflect the request and the actual document, not a guess about what information the recipient will consider important.
Prepare the paper before opening the camera
Place the document on a flat surface with even light. Remove it from a shiny sleeve if reflections make the text difficult to see, provided you can do so without damaging it. Smooth ordinary folds gently and avoid covering text with fingers, clips or other papers.
Check the back of every page. A report may have a result or explanatory note on the reverse even if the front looks complete. Keep separate documents in their original order while preparing them so you do not accidentally merge an unrelated receipt into a medical report.
If the paper is fragile, bound or cannot be flattened, do not force it. Capture the best complete copy available and explain any limitation to the recipient. A scan should represent the source honestly; an imperfect original should not be reconstructed by guessing missing words or copying text from another document.
Capture the entire page
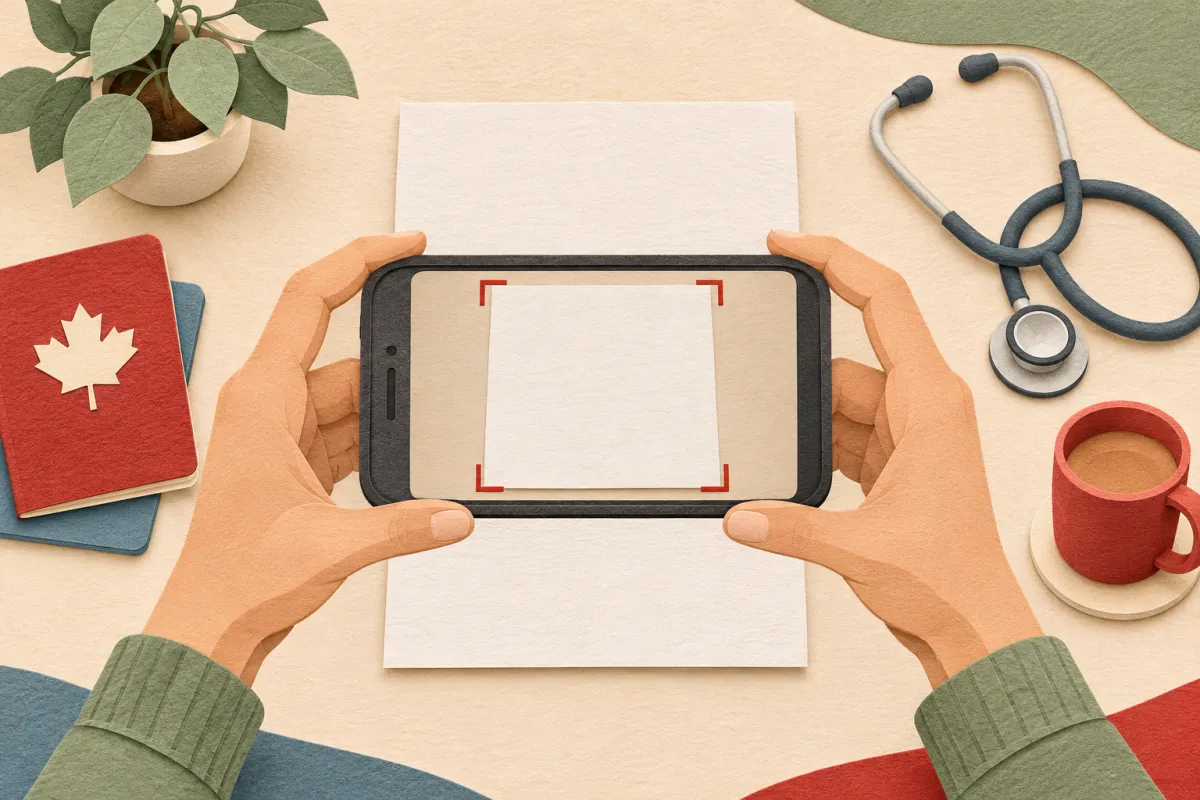
Position the camera directly above the page where possible. Include all four corners and leave enough space around the edges to show that nothing has been cut off. Avoid a steep angle that makes the lower text smaller or distorted.
Review the image immediately. Look for motion blur, shadows, glare and areas where the camera focused on the desk instead of the paper. Retake the image while the document is still in front of you if any important text is unclear. Enlarging a blurred image later rarely restores the missing detail.
If you use a scanning app’s automatic crop, check its selection before saving. It may cut off a page number, stamp or line near the margin. Rotation and careful cropping can make the copy easier to view, but the result should retain the full document content and its original meaning.
Protect barcodes, signatures and small print
Medical paperwork may contain a barcode or a reference printed in small characters. Examine those areas at a useful zoom level. A page can look clear as a thumbnail while an identifier becomes unreadable when the recipient tries to inspect it.
Use colour where it helps preserve faint marks, stamps or highlights, unless the recipient gives different instructions. Avoid aggressive filters that make the background bright by removing light text. The most attractive version is not always the most accurate copy.
Do not draw over a barcode, add a decorative watermark or place a personal annotation across an official field. If you need to explain something, use a separate note. Our medical identifier guide explains why keeping the label and reference together matters when several numbers appear on the same record.
Assemble pages in a meaningful order
After capturing the pages, compare the count with your working list. Check the first and last page of each report, and look for missing pages between numbered sections. A multi-page file should follow the source document’s order.
If the recipient permits a combined PDF, group related pages together rather than mixing material from several people. Keep a medical request separate from a personal explanation unless the upload instructions specifically require a combined file. A clear order lets the recipient understand the issued document without first sorting out your filing system.
Open the assembled file from beginning to end. Do not rely only on thumbnails. Check for an accidentally repeated page, an upside-down image or a page from another family member. These are simple production errors, but they are easier to correct before a sensitive document leaves your device.
Match the destination’s file requirements
Read the accepted formats and size limits at the actual upload destination. IRCC explains that limits vary by online account; see its file size guidance. Do not use a remembered limit from a different portal or assume the clinic’s system works the same way.
If a file is too large, preserve the original scan before making a smaller copy. Reduce size gradually and reopen the result after each change. The goal is to meet the destination’s requirement while keeping text and identifiers readable, not simply to produce the smallest possible file.
Avoid repeatedly sending a rejected attachment without understanding the error. Check whether the issue concerns size, file type, password protection or another requirement. If the destination’s instructions do not resolve the problem, contact the responsible organisation and describe the error accurately.
Use a filename that helps the recipient
Choose a short, descriptive filename that identifies the document and date where helpful. If the recipient gives a naming convention, follow it. Otherwise, a sensible label such as a medical request with its issue date is easier to recognise than a camera’s automatic string of numbers.
Do not place more sensitive information in the filename than is necessary. Full passport numbers, medical diagnoses and complete birth dates can appear in notifications, shared download lists or email previews. The document may already contain the information the authorised recipient needs.
For a family, check the name in the file against the actual pages before sending. Renaming a file does not change whose record is inside it. Open the final attachment from the draft message or upload selection screen, where practical, to make sure the chosen file is the one you intended.
Confirm the recipient independently
Use an address or portal verified through a known contact route. An unexpected message asking for a scan deserves a pause, especially if it adds unusual payment demands or directs you to an unfamiliar service. IRCC’s guidance on online immigration scams describes warning signs and ways to protect your information.
For the clinic, follow the method staff have provided. If an address is being dictated, read it back or obtain it from the published contact page. Be careful with autocomplete, which can select an old recipient with a similar name.
Send only the relevant requested material. A recipient who needs one report does not necessarily need your full immigration folder, banking documents or unrelated family records. This also makes the submission easier to understand and reduces the chance that a useful page becomes lost among unnecessary attachments.
Check completion after selecting the file
Uploading a document can involve more than choosing it from a folder. Read the screen carefully for any further save, continue or submit step. Do not assume the transfer is complete because the filename appears on the page.
Save the confirmation the system provides, if any, and note the date and recipient. A confirmation can document that you completed a transmission step; it should not be treated as proof that a medical assessment or immigration decision has been completed.
If no confirmation appears and the instructions are unclear, review the destination’s help information. Avoid submitting multiple duplicate copies immediately out of uncertainty. A concise enquiry that identifies the attempted transfer and its time can be more useful than several nearly identical messages with different attachments.
Keep an orderly record after sending
When two versions exist, make the difference visible in your private folder. One may be the full-resolution source and the other the smaller copy that met an upload limit. Record which version was sent, because a later readability question concerns that actual file. If you need to send an improved scan, explain that it replaces an unclear copy rather than presenting it as a new medical report. The underlying document date stays the same even when the scan date changes. Keeping those dates distinct prevents a newly created PDF from being mistaken for newly issued clinical information.
Retain the original document, the final file you sent and the relevant confirmation in a private location. These serve different purposes: the original establishes the source, the sent copy shows what was transmitted and the confirmation records the delivery step.
If you used a shared scanner or computer, retrieve the paper and sign out of any account you opened. Check for temporary files you created on the shared device and follow its approved process for removing your copies. Be cautious about assuming that closing a window removes a downloaded document.
Before your visit, review the appointment preparation page and bring any originals the clinic requested. Scanning is a support task, not a substitute for the examination or its identity checks. A complete, readable copy delivered through the right channel helps the relevant professional work with the record you actually intended to provide.
Ready to plan your visit?
Our Ajax team can help with appointment details, preparation and questions about your visit.